I’ve been experimenting with local large language models (LLMs) and AI coding agents to handle increasingly complex automation tasks. In this post, I walk through a real-world example: using my locally run Zed Agent connected to Ollama to research the Bluesky AT Protocol, build a reusable skill, and automate following people based on specific criteria — all without writing any code myself.
I’ve been gradually adding local LLMs to my daily workflow, and now I’ve got a setup that runs AI agents right inside Zed Editor for coding. This post walks through the whole stack — from GPU acceleration to editor integration — so you can set something similar up for yourself.
In this post, I compare the performance of large language models (LLMs) on the AMD Radeon AI PRO R9700 using Ollama with different ROCm versions. The R9700 is a powerful GPU designed for professional workloads, including machine learning and AI applications. In my previous post, LLM performance on AMD Radeon AI PRO R9700, I tested LLM performance with ROCm 6.4. Now, let’s see how ROCm 7.1 compares.
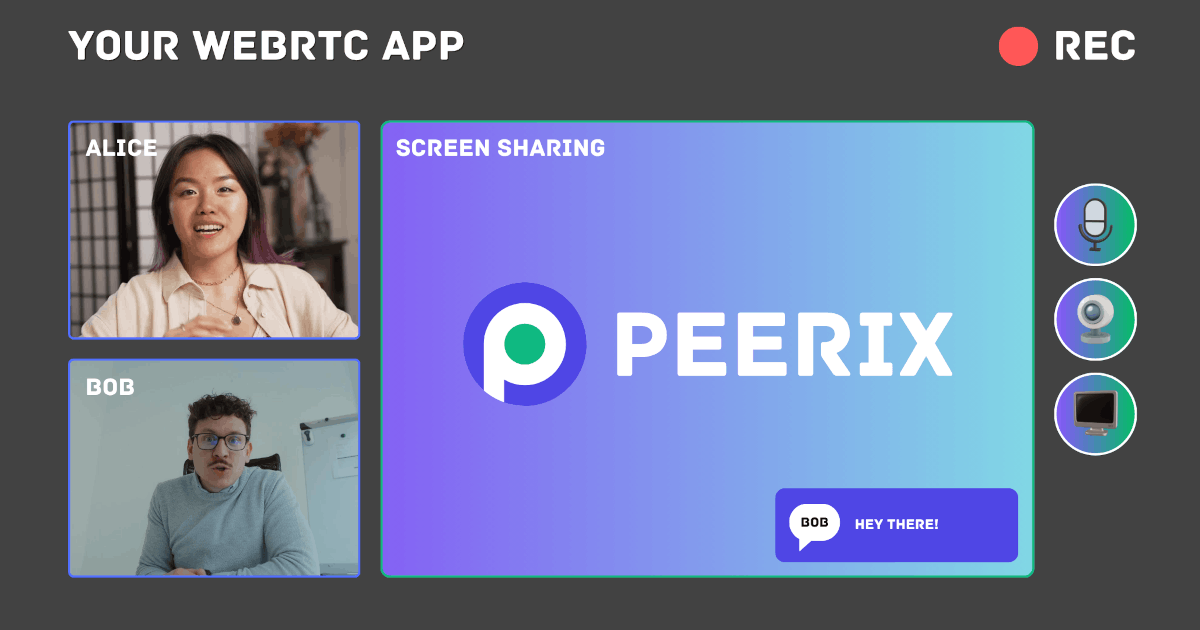
Today, I’m excited to introduce Peerix, a JavaScript/TypeScript library designed to simplify WebRTC development. Peerix abstracts away the complexities of WebRTC, allowing developers to focus on building their applications without worrying about the underlying signaling and peer connection management. With Peerix, you can easily create peer-to-peer applications for video conferencing, file sharing, gaming, and more. Whether you’re a seasoned WebRTC developer or just getting started, Peerix provides a straightforward API to help you get up and running quickly. Check out the comprehensive documentation and start building your next WebRTC application with Peerix today!
The New Year 🎄 is almost here, and what better way to celebrate than with a fun coding project? Today, I’m excited to share a simple Time Warp Scan implementation using pure JavaScript and HTML5 Canvas. Have fun, and happy New Year! May your coding be productive.
The pace of AI development is exhilarating, with new models and capabilities emerging constantly. Recently, I upgraded my PC with a new AMD GPU and have been exploring its power with local Large Language Model (LLM) tasks. Today, I’m taking on a far more complex challenge.
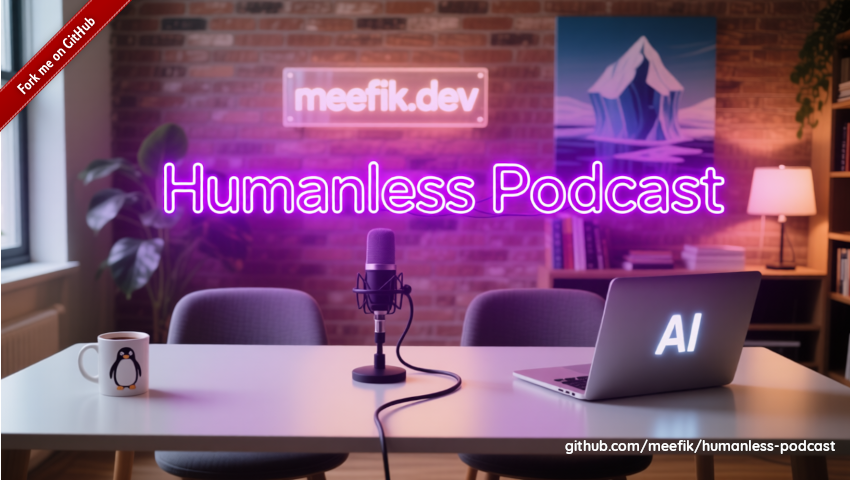
I set out to create an entire five-minute AI-generated podcast using only open-source models and tools. The entire process ran on my computer, completely bypassing expensive, privacy-compromising cloud services. The goal was to test the absolute limits of quality and feasibility for a fully self-hosted media production.
The result? The “Humanless Podcast”. Take a look at what came out of this experiment (click to play).
I will now walk you through the entire, eight-step process of creating a podcast like this, from the initial script to the final video.
Recently, I acquired an AMD Radeon AI PRO R9700 to enhance my machine learning and development setup. It is a powerful GPU designed for professional workloads, including machine learning and AI applications. In this post, we explore the performance of large language models (LLMs) on the R9700, highlighting its capabilities and benchmarks.
Building reliable, privacy-respecting peer-to-peer conferencing can be surprisingly simple when you split responsibilities cleanly: media transport (WebRTC) and signaling (a tiny transport for exchanging SDP and ICE). I built a minimal library to demonstrate that split and to enable serverless workflows using whatever signaling channel you prefer — from in-memory drivers for demos to NATS-based pub/sub for distributed apps.
This post describes the library’s purpose, core design, how to use it, and a practical example of a NATS signaling driver with end-to-end encryption using the browser Web Crypto API.
If you have a PC running Linux with an AMD GPU, you can change your GPU performance level. By default, the AMDGPU driver uses the “auto” performance level. But if you don’t need high performance, you can set it to “low” to reduce power consumption, heat generation, and fan noise.
On my system this change reduced the GPU power consumption from 30W to 15W in idle state and completely eliminated fan spinning.
I am using Node.js Cluster app with MongoDB Replica Set in one of my projects. In the server architecture of the system, the MongoDB Change Streams mechanism is used to implement the horizontal scaling of real-time functionality (video communication, chats, notifications), which allows subscribing to changes occurring in the database. Previously, instead of this mechanism, I used data exchange over UDP directly between the application server hosts until our hoster, for an unknown reason, began to lose a significant portion of packets. Because of this, I had to abandon this method. For the last couple of months, I’ve been wondering how to optimize the operation of this mechanism in MongoDB, or even abandon it in favor of connecting an additional component like Redis Pub/Sub. But without a particular need, I didn’t want to multiply entities, Occam’s Razor, you know. Besides, figuring out what’s already there isn’t a bad idea to start with.